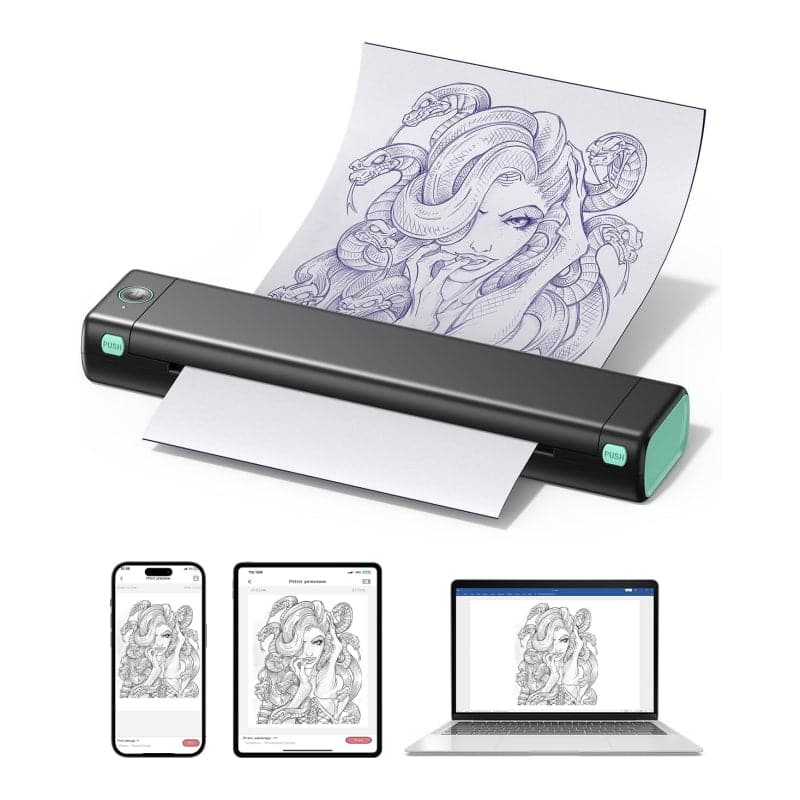
- What Is a Tattoo Stencil Printer?
- Can You Use a Non-Inkjet Printer for Tattoo Stencils?
- What You Need to Print a Tattoo Stencil
- How to Use a Thermal Tattoo Stencil Printer
- How to Use MT200 Stencil Printer
- Troubleshooting Common Issues
- Spirit Paper: Why Bulk 100 Sheets Is Smart
- Choosing the Right Thermal Printer for Tattoos
- Shop Phomemo Tattoo Stencil Tools
Whether you're a beginner tattoo artist or upgrading your studio setup, a tattoo stencil printer is an essential tool. These machines allow you to print high-quality stencils directly onto thermal paper — no ink, no mess.
In this guide, you’ll learn:
- How to use a tattoo stencil printer (like the Phomemo M08F)
- What paper and gel you need
- Whether non-inkjet printers can be used
- Common issues and how to fix them
What Is a Tattoo Stencil Printer?
A stencil printer is a thermal machine that prints tattoo designs onto stencil paper using heat. Unlike inkjet or laser printers, thermal printers require no ink or toner and deliver high-precision outlines.
Devices like the Phomemo M08F are compact, wireless, and perfect for mobile or studio use.
Can You Use a Non-Inkjet Printer for Tattoo Stencils?
Yes. In fact, thermal stencil printers are designed for this purpose. So if you're asking, can you use non ink jet printer for tattoo? — the answer is absolutely.
- No ink required
- Compatible with 4-layer stencil paper
- Ideal for beginners and pros
View all tattoo stencil printers
What You Need to Print a Tattoo Stencil
- Phomemo M08F Tattoo Printer
- 100 Sheets of Spirit Tattoo Stencil Thermal Transfer Paper
- Tattoo Transfer Gel
- Printer driver for PC/Mac
To get started printing tattoo stencils, you’ll need four essentials working seamlessly together.
First, the Phomemo M08F Tattoo Printer — its high‑resolution thermal print head ensure every fine line and shading in your stencil comes out crisp and true to your original artwork.
Next, load the printer with 100 sheets of Spirit Tattoo Stencil Thermal Transfer Paper, specially engineered to accept thermal prints without smudging or bleeding, so your stencil lines stay sharp when transferring to the skin.
Before printing, apply a thin layer of Tattoo Transfer Gel to your client’s skin; this gel creates the perfect adhesive barrier that picks up every detail from the printed stencil, yet rinses off cleanly afterward.
Finally, install the printer driver for PC/Mac, which gives you full control over print settings—adjust contrast, trim margins, and preview your stencil layout directly on your computer before you hit “Print.”
With these four components in place, you’ll be ready to produce salon‑ready stencils in seconds, streamlining your workflow and elevating the precision of every tattoo you create.
How to Use a Thermal Tattoo Stencil Printer
Step 1: Prepare Your Design
-
First, create your tattoo design on your phone or computer. You can use tattoo design software or just a basic image editor. Don’t forget to mirror your design before printing. The image needs to be reversed so that it comes out correctly on the skin once transferred.
Step 2: Load the Transfer Paper
-
Grab your tattoo thermal transfer paper. Make sure you're loading it with the printable side facing up. This paper usually has four layers, and it's important to get the right side in the printer. If it's not loaded properly, your print will be off.
Step 3: Connect Your Printer
-
Now, connect your Phomemo M08F printer to your phone or computer using Bluetooth or USB. If this is your first time using the printer, you may need to download the latest driver. Double-check that the printer is connected and ready to go by testing it with a small print.
Step 4: Print & Check the Output
-
Open your design file, make sure it’s mirrored, and hit “Print”. The Phomemo M08F uses thermal technology, meaning it prints clean, ink-free outlines. Once it’s done, check the print carefully. The lines should be sharp and clear. If anything looks off—like faint lines or smudging—double-check the paper placement and printer settings.
Step 5: Apply to Skin
-
Before you transfer the stencil, clean the skin with alcohol or green soap to remove oils and dirt. Make sure the area is completely dry. If there’s any hair, shave it off with a razor to avoid any interference with the stencil. Now, apply a thin layer of tattoo transfer gel. This gel helps the stencil stick to the skin. Press the printed transfer onto the skin (image side down) for about 5–10 seconds. Gently peel it off, and you should have a clear outline ready for the tattoo.
How to Use MT200 Stencil Printer
The MT200 stencil printer follows similar thermal principles, but has a slightly more complex setup:
- Manual paper alignment
- Fewer wireless functions
- Needs firmware checks
For a smoother experience, artists often prefer Phomemo M08F for its reliability & mobile support.
Troubleshooting Common Issues
| Issue | Solution |
|---|---|
| Faint lines | Use fresh Spirit paper & adjust print contrast |
| No transfer | Apply more transfer gel & check paper orientation |
| Connection error | Reinstall printer driver |
Spirit Paper: Why Bulk 100 Sheets Is Smart
Buying 100 sheets saves cost & reduces restocking. These papers are made for thermal tattoo stencil printers and deliver optimal stencil clarity.
Choosing the Right Thermal Printer for Tattoos
- Paper size: A4 for large designs
- Portability: Wireless & USB
- Software: Works with all OS
- Maintenance: Easy roller cleaning
We recommend the Phomemo M08F Tattoo Printer for professionals and learners alike.
Shop Phomemo Tattoo Stencil Tools
- Phomemo M08F Tattoo Printer
- Tattoo Transfer Paper (100 Sheets)
- Tattoo Transfer Gel
- Browse All Tattoo Printers
Using a thermal tattoo stencil printer like the Phomemo M08F ensures clean, sharp transfers every time. It's fast, reliable, and beginner-friendly — the perfect solution for modern tattoo artists.


