1. For the mobile phone connection, please follow the steps below:
Video Tutorial:
https://www.youtube.com/watch?v=UVBFDwddEEY&list=PL3_AhQ0D1H_BokTz9EKJZDxLDqF0QnYr5&index=9
Turn on Bluetooth in the Control Center or shortcut switch page
Download Labelife from the APP store or Google Play and connect the printer to the app. Tap on the printer (connect) icon in the top right corner. Labelife will scan your printer and prompt you to connect it.
When you see the green check mark, the printer is successfully connected.
Note: Some Android phones require GPS permission to be enabled.
2. For the PC (Mac and Windows) Bluetooth connection, follow the steps below to set up
(Printing using this connection method needs to be completed in Labelife software)
A new way has been introduced to connect your printer to the PC through Bluetooth via the Labelife software. Follow the steps below for setup.
Labelife download link:
https://www.labelife.net/#/download
Video Tutorial for Setup:
https://labelife.net/#/pm241
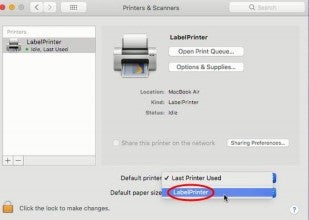
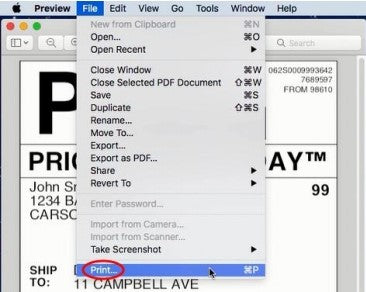
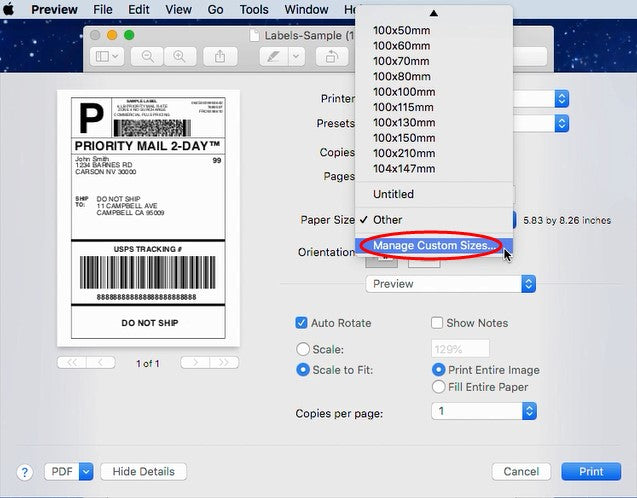
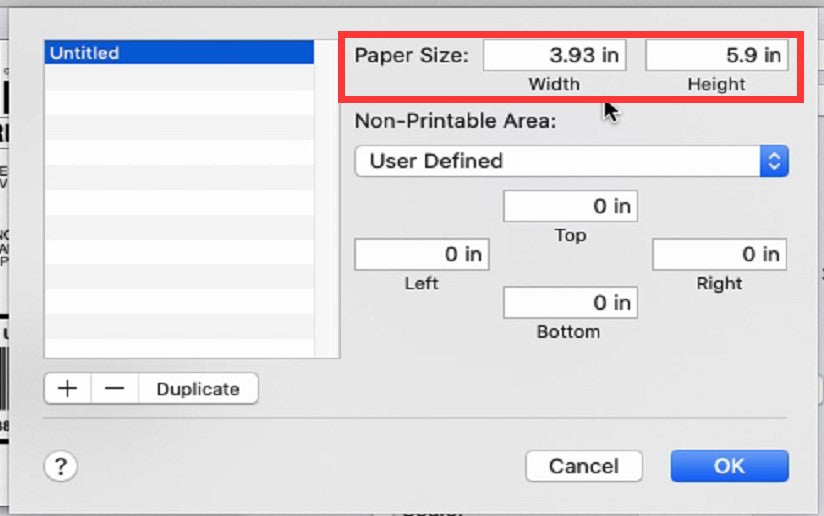
If you need to use the cable to connect to the computer, please follow the steps below to set up:
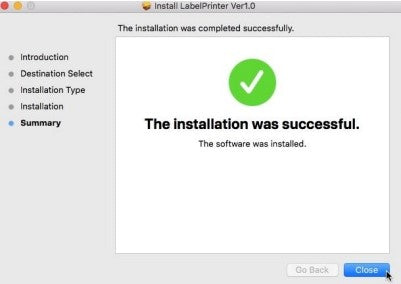
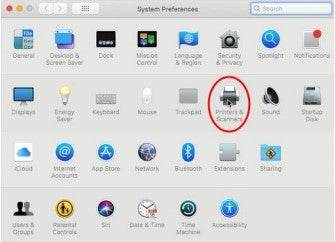
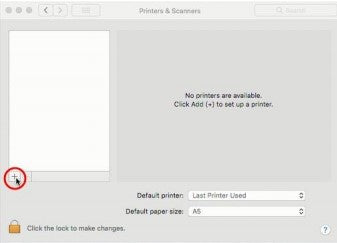
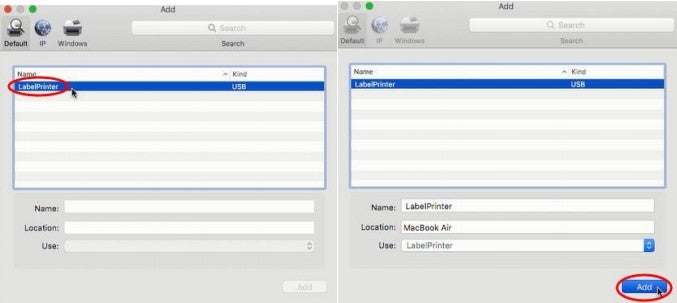
Before installing the driver, make sure to connect the printer to the computer using the original cable. Once completed, proceed with printer installation. Here is the link to the driver.
https://labelife.net/#/pm241
You can refer to the video tutorial to set up the printer:
For Mac:
https://www.youtube.com/watch?v=jZiS-Q1gkG8
For Windows:
https://www.youtube.com/watch?v=hVt4ZuXSPpk&list=PL3_AhQ0D1H_DO9TbGz1ab505XGqjnKnho&index=7
More Video Tutorials:
https://www.youtube.com/watch?v=wCVh693q4MI&list=PL3_AhQ0D1H_DO9TbGz1ab505XGqjnKnho
Download the label editing software Labelife to edit labels for printing. Please refer to the following link.
Download:
https://www.labelife.net/#/download
3. If you still cannot solve the problem, please provide us with the following information:
A.Some photos or videos of the installation process.
B.Printer serial number starting with Q.
C.Your device model and system version.
D.Your order number, platform, and date of purchase.


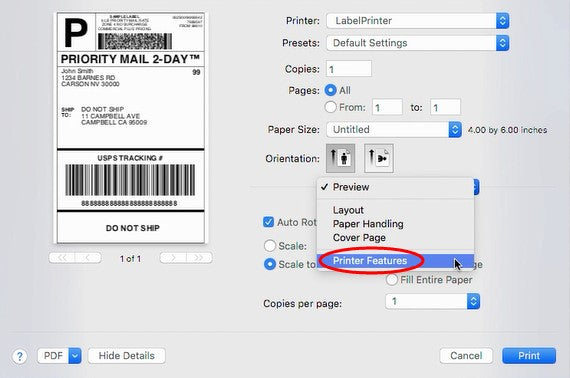
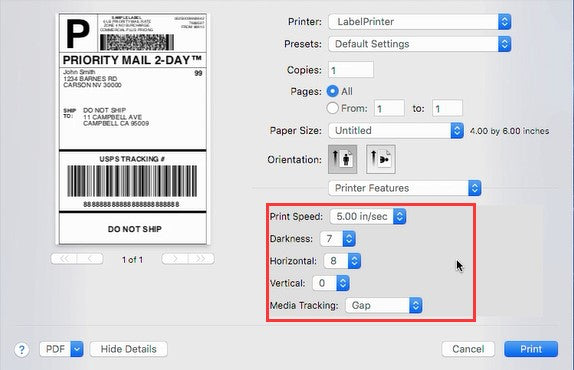


 IT
IT
 EU
EU