 Business Label Maker
 Shipping Label Printer
 Tattoo Stencil Printer
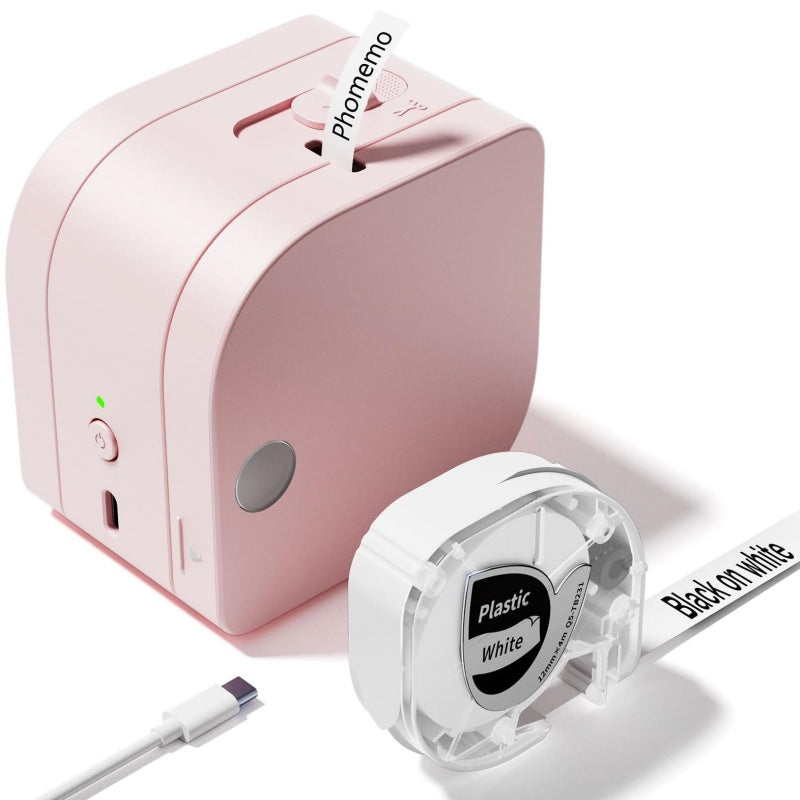
 Mini Printer
 Home Label Printer
 New Arrivals
 Phomemo M221 Bluetooth Portable Thermal Business Label Maker
 Phomemo M200 Bluetooth Portable Thermal Business Label Maker

 Phomemo PM344-WF Shipping Label Printer 300DPI WiFi
 Phomemo PM64D Bluetooth Shipping Label Printer Upgraded Direct Touchscreen
 Phomemo M08F Wireless Tattoo Stencil Printer
 Phomemo M08F Plus Wireless Tattoo Stencil Printer with Touch Screen
 Phomemo T02 Inkless Mini Printer
 Phomemo M04S Mini Thermal Printer
 Phomemo P15 Vintage Ribbon Printer
 Phomemo D30 Portable Bluetooth Home Label Maker
 Phomemo Direct Thermal M08F Letter & A4 Portable Printer
 Phomemo Direct Thermal Portable Printer M832 Upgrade
 Phomemo Thermal Portable Printer M832D Upgraded Direct Touchscreen
 Phomemo TK20 Bluetooth Temporary Tattoo Printer with 40Pcs Temporary Tattoo Paper & 4 Markers
 Phomemo P3M AI Sticker Mini Printer
 Phomemo 40×30mm White Thermal Label for M110/M120/M150/M200/M220/M221-3 Roll
 Phomemo 50×80mm White Thermal Label For M110/M120/M200/M220/M221
 Phomemo More Sizes Label Sales for Business Label Maker
 Phomemo 4"x6" Fan-Fold Thermal Direct Labels for Shipping Label Printer
 Phomemo 2" Multiple Thermal Round Label for Shipping Label Printer
 Phomemo 2" Silver Thermal Holographic Sticker for Shipping Label Printer
 Phomemo Tattoo Transfer Paper For M08F/TP81/TP83/TP87 Tattoo Printer
 Phomemo Tattoo Transfer Paper For TP31 Tattoo Printer
 Phomemo Upgraded Tattoo Transfer Paper For M08F/TP81/TP83/TP87 Tattoo Printer
 Phomemo 53mm 20-year Lasting White Sticker Thermal Paper for M02/M02S/M02Pro/M03/M04S/M04AS/M832/P2S丨3 Rolls
 Phomemo 53mm White Sticker 10-Year-Lasting Thermal Paper for T02/M02X/M832丨3 Rolls
 Phomemo 110mm Paper for M04S/M04AS/M832 | 3 Rolls
 Phomemo 12mmx5m Pastel Blue&White&Red Ribbon Label Tapes for P15/A30
 Phomemo 12x40mm White Label for D30/D35/Q30/Q30S
 Phomemo 14x40mm Golden Thermal Label for D30/D35/Q30/Q30S
 Phomemo Quick Dry 8.26"x11.69" A4 Thermal Paper for M08F/M832/Q302
 Phomemo 2/4 Rolls Thermal Paper For M832 Portable Printer
 Phomemo Letter & A4 Paper for M08F/M832/Q302 | Free Storage Bag
 Phomemo PM64D Bluetooth Shipping Label Printer
 Phomemo M03C Flashcards Mini Printer
 Phomemo L85 Smart Touchscreen Professional Tattoo Stencil Printer
 Phomemo TA81 Continuous Tattoo Stencil Printer
Satin Ribbon is an indispensable accessory when we wrap gifts. With the embellishment of ribbons, packaging becomes more delicate,adding much charm to the gifts. But have you ever heard about using a thermal label printer to print satin ribbons?
Ribbons have a texture that feels like silk, with a soft and smooth surface, thicker than ordinary satin ribbons. Ribbons come in different base colors, and you can print different words and patterns on the ribbons according to your needs. In order to better meet the diverse needs of users, Phomemo has launched a mini label maker that can ribbon labels through independent innovation and research and development. Now, let's explore some creative ways for crafting unique ribbons.
Creative Craft Ideas to DIY Ribbons with a Mini Label Maker
DIY ribbon iPad case

To make a ribbon iPad case, gather your supplies: a plain iPad case, assorted ribbons, scissors, fabric glue, and any embellishments you desire. Begin by measuring the dimensions of your iPad case and cutting the ribbons accordingly, ensuring they're long enough to cover the entire surface. Next, arrange the ribbons in a pattern or design of your choice, laying them out flat before gluing them onto the case. Use fabric glue to secure each ribbon in place, ensuring a smooth and even finish. Be sure to leave openings for the camera, buttons, and ports. Once the ribbons are glued down, let the case dry completely before inserting your iPad. With your own personalized ribbon iPad case, you'll add a touch of flair and protection to your device while showcasing your creativity for all to see.

Gather your favorite ribbons, key rings, and keychain hardware. Cut the ribbon into desired lengths, ensuring they're long enough to loop through the key ring and tie securely. Mix and match colors and patterns to reflect your unique style. Attach the ribbons to the key ring, knot them securely, and trim any excess. You can use a thermal label maker to print your favorite brand name onto ribbon labels. Now, you'll never misplace your keys again with these eye-catching accessories.
DIY ribbon bow hair clips

Grab some alligator clips, ribbon, scissors, and a glue gun. Cut the ribbon into two pieces, one shorter than the other. Fold each piece into a bow shape and secure the middle with glue. Attach the bows to the alligator clips using more glue, and let them dry completely.
DIY ribbon dream catcher

To make a ribbon dream catcher, you'll need an embroidery hoop, assorted ribbons, feathers, beads, and a hot glue gun. Start by wrapping the hoop with ribbon, securing it with glue as you go. Next, cut varying lengths of ribbon and attach them to the bottom of the hoop, along with feathers and beads, creating a mesmerizing cascade. Hang it near your bed to catch your dreams in style.
DIY ribbon hair ties

For this charming creation, gather your favorite ribbons, elastic bands, and scissors. Begin by cutting your ribbon into desired lengths, ensuring they're long enough to tie around your hair comfortably. Then, simply loop one end of the ribbon through the elastic band and tie it securely. Repeat this step for as many hair ties as you desire, and voila, you've got yourself a colorful collection of hair accessories.
DIY ribbon bookmarks

It is a practical and charming craft that's perfect for book lovers. Start by cutting a piece of ribbon to your desired length, typically around 10-12 inches. To add a personal touch, consider using a thermal label maker to print your favorite quotes or phrases onto ribbon labels. This adds an extra layer of customization to your DIY ribbon bookmarks, allowing you to infuse your own personality into your reading accessories. Once your bookmark is complete, it's ready to mark your place in your favorite book.
DIY ribbon flowers

Ribbon flowers are perfect for adding a touch of whimsy to any craft project. Begin by cutting a length of ribbon and folding it into loops to form petals. Secure the loops at the base with thread or glue, then repeat the process with additional ribbon pieces, layering them to create a full flower. For an extra special touch, add a button or bead to the center of the flower.
Crocheting with ribbon

Crocheting with ribbon adds a unique twist to traditional crochet projects. To get started, choose a ribbon of your liking in terms of width and texture. Next, grab a large crochet hook suitable for the ribbon's thickness. Begin with a slipknot and then crochet as you normally would, making stitches of your choice such as single crochet or double crochet. Experiment with different stitches and patterns to create textures and designs that stand out.
DIY ribbons earrings

Ribbon earrings, these are a stylish accessory that you can easily make at home. Start by cutting two equal lengths of ribbon, ensuring they're long enough for earrings. Fold each ribbon in half and attach earring hooks to the folded end. You can add extra flair by incorporating beads or charms onto the ribbon before attaching the hooks. To prevent fraying, seal the ends of the ribbon either with heat from a lighter or with fabric glue.
Equipment Needed to Print Ribbons
Label maker: There are many thermal label makers are in the market, not all of them are capable of printing on ribbons. Ensure you have a thermal label maker specifically designed for printing ribbons. Choose a reliable brand known for its quality and compatibility with ribbon printing. Ribbon label: Customize your ribbon labels by selecting your favorite color, style, and material. Thermal printers can usually handle satin ribbon, providing you with a wide range of options for personalization. Consider the texture, width, and color of the ribbon labels to complement your projects seamlessly.
How to Print Ribbons with a Mini Label Maker?
Step 1: Prepare Your Label Maker
Ensure the label maker is powered on and connected to your mobile devices through Bluetooth.
Step 2: Load Ribbon Label
Open the compartment designated for ribbon labels on the label maker. Insert the roll of satin ribbon label securely into the compartment, making sure it is properly aligned. Close the compartment firmly to avoid any disruptions during printing.
Step 3: Design Your Ribbon Label
Connected you mobile devices to create your ribbon label design. Customize the design by adding text, symbols, or graphics according to your preferences. Adjust the font style, size, and alignment to achieve the desired look for your ribbon label.
Step 4: Set Printing Preferences
Navigate through the label maker's settings menu to configure preferences specifically for ribbon printing. Select the appropriate label size and adjust the print quality settings as needed. Ensure the thermal printer is calibrated correctly to avoid misalignment or printing errors.
Step 5: Start Printing
Once your design is finalized and printing preferences are set, initiate the printing process on the label maker. Monitor the printing progress and ensure the satin ribbon label advances smoothly without any jams or interruptions.
Step 6: Apply Ribbon Label
After printing is complete, carefully remove the printed satin ribbon label from the label maker. Trim any excess ribbon material if necessary to achieve a clean and professional finish. Affix the ribbon label to your desired surface, such as gift packages or handmade crafts, ensuring it adheres securely.
Ready to Shop?
Ready to elevate your crafting game? Visit our blog to order your Phomemo P12 Pro mini label maker today and use the discount code TIPS8 for an exclusive 10% off. Don't let this opportunity slip away – start creating personalized, professional-looking ribbons for all your projects now!
Ribbon Label Maker
- 💖Weighing just 7.8 ounces and measuring 3.2x3.2x2.4 inches
- 💖Supports printing on various materials, from ribbons to iron-on labels.
- 💖Bluetooth Connection with mobile devices

