 Phomemo 4"x6" Fan-Fold Thermal Direct Labels for Shipping Label Printer
 Phomemo 2" Multiple Thermal Round Label for Shipping Label Printer
 Phomemo 2" Silver Thermal Holographic Sticker for Shipping Label Printer
 Phomemo 53mm 20-year Lasting White Sticker Thermal Paper for M02/M02S/M02Pro/M03/M04S/M04AS/M832/P2S丨3 Rolls
 Phomemo 53mm White Sticker 10-Year-Lasting Thermal Paper for T02/M02X/M832丨3 Rolls
 Phomemo 110mm Paper for M04S/M04AS/M832 | 3 Rolls
 Phomemo 12mmx5m Pastel Blue&White&Red Ribbon Label Tapes for P15/A30
 Phomemo 12x40mm White Label for D30/D35/Q30/Q30S
 Phomemo 14x40mm Golden Thermal Label for D30/D35/Q30/Q30S
 Phomemo Quick Dry 8.26"x11.69" A4 Thermal Paper for M08F/M832/Q302
 Phomemo 2/4 Rolls Thermal Paper For M832 Portable Printer
 Phomemo Letter & A4 Paper for M08F/M832/Q302 | Free Storage Bag
Are You Ready to Download?

 Business Label Maker
 Shipping Label Printer
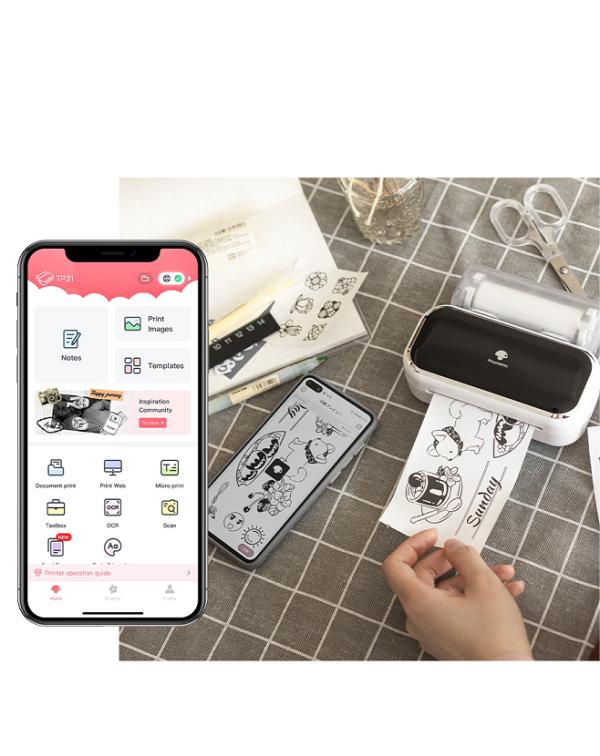
 Tattoo Stencil Printer
 Mini Printer
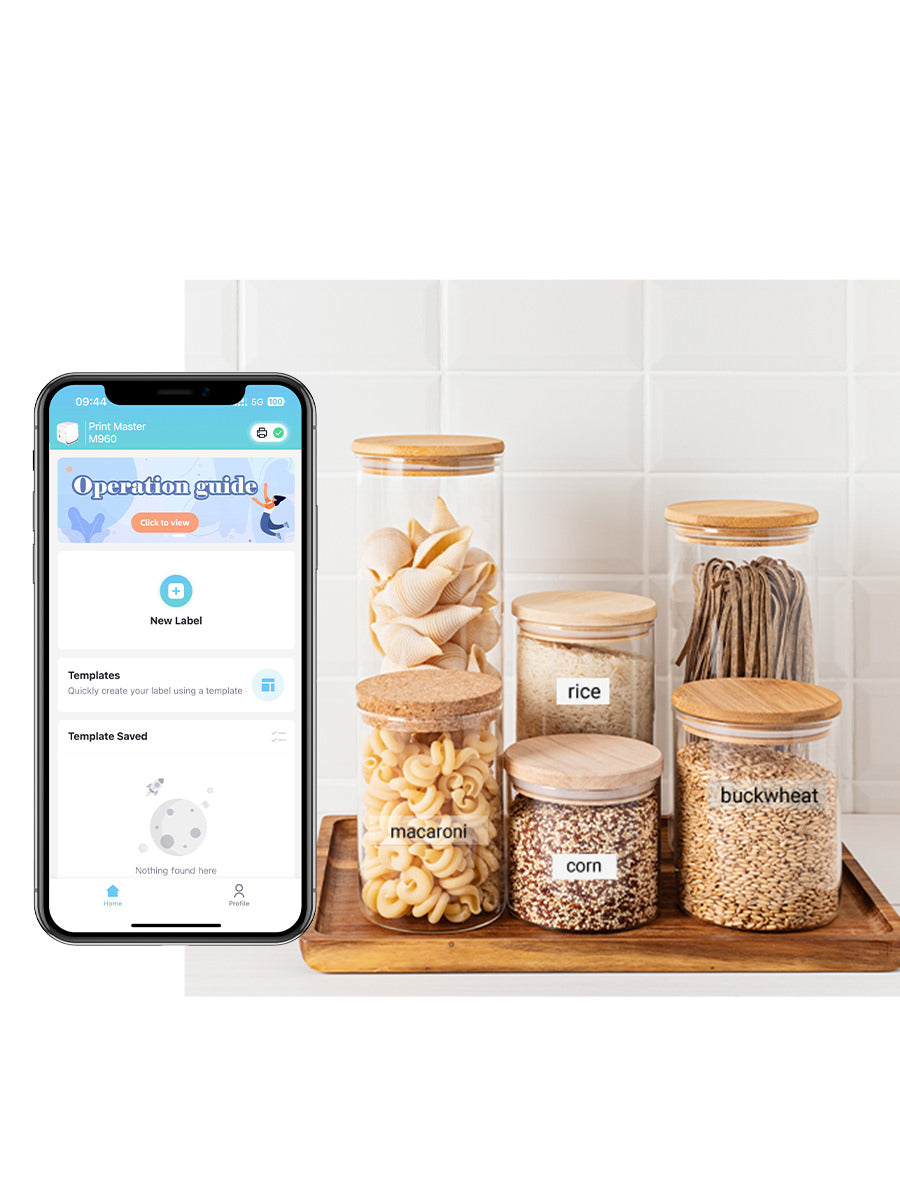
 Home Label Printer
A4 Portable Printer
Home Label Printer
A4 Portable Printer
 New Arrivals
Top Picks
Phomemo M110 Bluetooth Portable Thermal Business Label Maker
 Phomemo M221 Bluetooth Portable Thermal Business Label Maker
 Phomemo M200 Bluetooth Portable Thermal Business Label Maker
Top Picks
Phomemo PM241-BT Bluetooth Shipping Label Printer
 Phomemo PM344-WF Shipping Label Printer 300DPI WiFi
 Phomemo PM64D Bluetooth Shipping Label Printer Upgraded Direct Touchscreen
Top Picks
 Phomemo M08F Wireless Tattoo Stencil Printer
 Phomemo M08F Plus Wireless Tattoo Stencil Printer with Touch Screen
Phomemo TP83 Wireless Tattoo Stencil Printer
Phomemo M08F Plus Wireless Tattoo Stencil Printer with Touch Screen
Phomemo TP83 Wireless Tattoo Stencil Printer
Top Picks
Phomemo M02 PRO Bluetooth Mini Printer
 Phomemo T02 Inkless Mini Printer
 Phomemo M04S Mini Thermal Printer
Top Picks
Phomemo Ribbon Printer A30 Portable Home Label Maker
 Phomemo P15 Vintage Ribbon Printer
 Phomemo D30 Portable Bluetooth Home Label Maker
Top Picks
 Phomemo Direct Thermal M08F Letter & A4 Portable Printer
 Phomemo Direct Thermal Portable Printer M832 Upgrade
 Phomemo Thermal Portable Printer M832D Upgraded Direct Touchscreen
Top Picks
Phomemo TK32 DIY Temporary Tattoo Maker Kit
 Phomemo TK20 Bluetooth Temporary Tattoo Printer with 40Pcs Temporary Tattoo Paper & 4 Markers
 Phomemo P3M AI Sticker Mini Printer
Top Picks
 Phomemo 40×30mm White Thermal Label for M110/M120/M150/M200/M220/M221-3 Roll
 Phomemo 50×80mm White Thermal Label For M110/M120/M200/M220/M221
 Phomemo More Sizes Label Sales for Business Label Maker
Top Picks
Top Picks
 Phomemo Tattoo Transfer Paper For M08F/TP81/TP83/TP87 Tattoo Printer
 Phomemo Tattoo Transfer Paper For TP31 Tattoo Printer
 Phomemo Upgraded Tattoo Transfer Paper For M08F/TP81/TP83/TP87 Tattoo Printer
Top Picks
Top Picks
 Phomemo PM64D Bluetooth Shipping Label Printer
 Phomemo M03C Flashcards Mini Printer
 Phomemo L85 Smart Touchscreen Professional Tattoo Stencil Printer
 Phomemo TA81 Continuous Tattoo Stencil Printer
Phomemo TK32 DIY Temporary Tattoo Maker
Phomemo TA81 Continuous Tattoo Stencil Printer
Phomemo TK32 DIY Temporary Tattoo Maker
Phomemo
Print Master
Labelife

*If there are no search results, you can try entering the precise model, for example: D520BT.
<{item}> : Driver setup package
<{item}> : Software setup package
<{item=='WindowsTools'?'Diagnostic Tools Windows':'Diagnostic Tools Mac'}>
Download Extraction Tool : Unzip Your Driver Files for Installation
This printer does not require a driver. Go to download APP.
<{item.name}>
Back
<{ item.title }>
OPERATING SYSTEM: <{driverData.driver[item].desc}> 7 (32 bit, 64 bit) 8(32 bit, 64 bit) 10(32 bit, 64 bit) 11 (64 bit) ARM
OPERATING SYSTEM: <{driverData.driver[item].desc}> ARM
OPERATING SYSTEM: <{driverData.driver[item].desc}> macOS 10.14 (Mojave) and above
OPERATING SYSTEM: <{driverData.driver[item].desc}> V3
OPERATING SYSTEM: <{driverData.driver[item].desc}> Ubuntu Centos7
OPERATING SYSTEM: <{driverData.driver[item].desc}> 7 (32 bit) 10 (32 bit) 11 (32 bit)
OPERATING SYSTEM: <{driverData.driver[item].desc}> 7 (64 bit) 10 (64 bit)
OPERATING SYSTEM: <{driverData.driver[item].desc}> macOS 10.14 (Mojave) macOS 10.15(Catalina) macOS 11 (Big Sur(2020)) macOS 12 (Monterey)
(Version:<{driverData.driver[item].version}>) (Version:<{driverData.SoftData[item].version}>) (Version:<{driverData.TollData[item].version}>)
Unzip Your Driver Files for Installation
This printer does not require a driver. Go to download APP.
The printer currently does not have a Quick Start Guide.


No related faq were found for this printer.
