
With the advancement of technology over the years, thermal label printers have evolved into indispensable tools in various industries. They are extensively utilized for printing receipts, tickets, and a wide array of stickers. In this article, we'll explore how to use a thermal label printer to print stickers. Stickers can be used in many occasions, from organization and bullet journaling to embellishing photo walls and beyond.

What is a Thermal Label Printer?
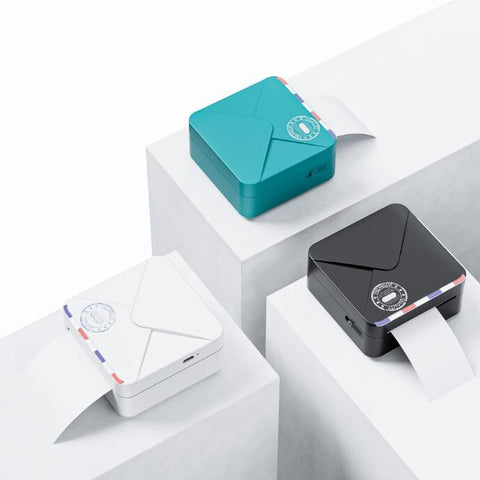
Before we start, let's take a moment to understand the printing technology and how thermal label printers actually work. This will help us choose the right thermal label printer that fits our needs perfectly. There are two primary types of thermal printers: direct thermal and thermal transfer.
Direct thermal printers employ heat-sensitive paper coated with a special chemical that changes color when exposed to heat. Direct thermal printers are commonly used for applications such as shipping labels, receipts, and, of course, stickers.
Thermal transfer printers, on the other hand, use a heated print head to transfer ink from a ribbon onto the label material. While direct thermal printers are more straightforward and cost-effective for certain applications, thermal transfer printers offer greater durability and flexibility, making them suitable for high-quality, long-lasting stickers. Thermal transfer printers are commonly used for printing labels and tags in various industries, including retail, manufacturing, pharmaceuticals, and logistics, among others.
Selecting The Right Thermal Paper
When selecting thermal paper for printing stickers, it's crucial to consider compatibility with your specific type of thermal printer. While direct thermal printers cannot print thermal transfer labels, thermal transfer printers can typically print both thermal transfer and direct thermal labels.
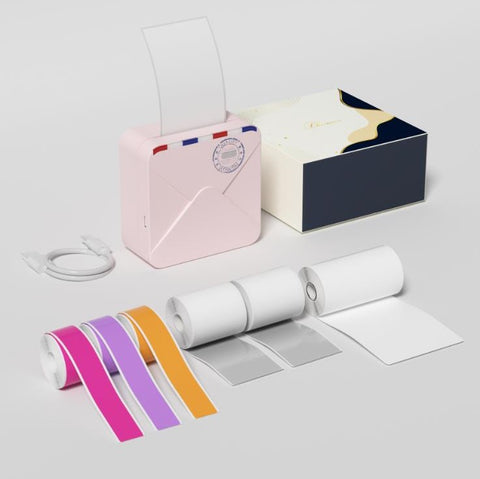
For direct thermal printing, choose heat-sensitive paper or labels specifically designed for this purpose. Ensure that the material is smooth, durable, and capable of producing high-quality prints without smudging or fading over time. If you already have a direct thermal printer, purchase your thermal printer stickers.There are different colors and shapes to choose from.
For thermal transfer printing, opt for label materials compatible with the thermal transfer process, such as synthetic materials, polyester, or polypropylene. These materials offer excellent durability and resistance to environmental factors such as moisture, heat, and abrasion.
Designing Your Own Stickers
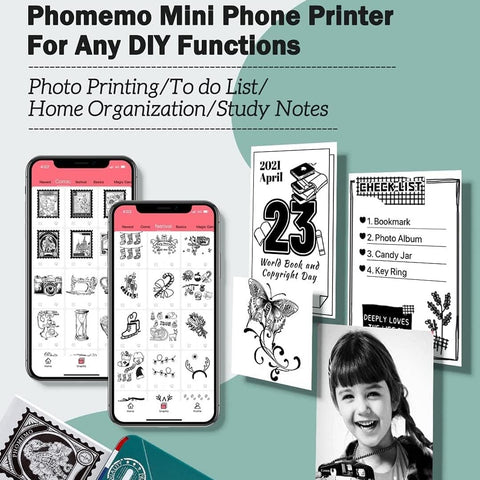
If you've already purchased a thermal printer, you're in luck! The phone applications of printers offer a plethora of free sticker templates for you to choose from. These templates cover a wide range of styles and themes, making it easy to find something that suits your taste perfectly.
However, if you prefer to exercise your creativity and design skills, you have plenty of options as well. Software like Adobe Illustrator, Photoshop, or even free platforms like Canva or GIMP provide robust tools for creating custom stickers. Whether you're a professional designer or just starting out, these programs offer the flexibility and versatility to bring your sticker ideas to life.
So whether you're using pre-made templates or crafting your own designs from scratch, the possibilities for creating unique and personalized stickers are endless.
Printing Stickers on a Thermal Label Printer
Once you've finalized your sticker designs, it's time to proceed with the printing process using your thermal printer.
Step-by-Step Printing Process
Step One: Connect Your Thermal Printer
Connect your thermal printer to your PC or laptop using a USB cord, or alternatively, use Bluetooth to connect it to your smartphone.
Step Two: Choose Your Sticker Design
Select the sticker design you have created or downloaded and saved on your device.
Step Three: Load Thermal Sticker Paper
Carefully place the thermal sticker paper into the paper tray of your thermal printer. Ensure it is properly aligned and inserted to prevent any printing errors.
Step Four: Turn On the Thermal Label Printer
Turn on your printer and wait for it to initialize.
Step Five: Open Your Design File
Open the design file you saved earlier on your device. Ensure that the file format is compatible with your thermal printer.
Step Six: Confirm Printing Settings
Check the printing settings to ensure they are correct for your sticker project. Adjust parameters such as print quality, paper size, and orientation as needed.
Step Seven: Select Print
Once you have confirmed the printing settings, select the print option on your device to initiate the printing process.
Step Eight: Apply the Stickers
You can apply the stickers to various surfaces such as notebooks, products, or any personal items. Ensure that the surface is clean, dry, and free of any dust or debris for optimal adhesion. Press down firmly on the stickers to ensure proper bonding, and smooth out any air bubbles or wrinkles for a flawless appearance.

Summary
Printing stickers on a thermal printer offers a convenient and efficient solution for creating custom stickers with ease. By following the step-by-step process outlined in this guide, you can produce high-quality stickers tailored to your specific needs and preferences. Whether you're printing stickers for personal use, business branding, or promotional purposes, thermal printing technology provides unmatched versatility, reliability, and print quality. Experiment with different designs, materials, and printing techniques to unleash your creativity and elevate your sticker projects to new heights.


